Covered grating drainage
Covered Grating Joints, Drainage and Sealing Boundaries
A covered panel closes the mesh field, but water, air and debris can still use panel gaps, perimeter clearances, openings and lifting holes. Define where the water goes, how the pieces bear and which joints must remain open, removable or sealed.
Prepared by
Dengtai Industry
Published
·
Reviewed

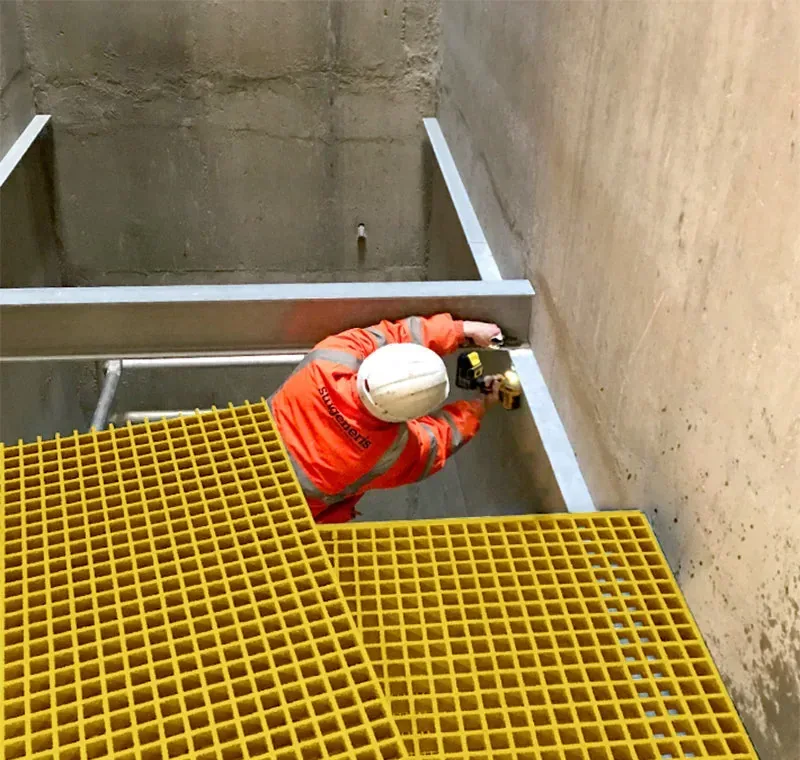
The cover, frame, joints and outlet detail must be read as one drainage system. Photo: Dengtai Industry.
Path definitions
Drainage, Joints and a Sealing Boundary Are Different
A cover changes where water travels; it does not make every interface disappear.
- Panel-field drainage
- Flow through the open cells of an uncovered grating. A covered product closes this path over the panel area but does not remove water from the platform.
- Surface drainage
- Water running across the top to a fall, channel, scupper, joint or outlet. The slope and receiving detail belong to the installed system.
- Panel joint
- The gap or connection between two finished pieces. It may be a dry butt joint, a clipped joint, a restrained joint or part of a separately sealed detail.
- Perimeter joint
- The interface between the grating edge and the frame, curb, wall or adjacent floor. Bearing, clearance, movement and drainage can all occur here.
- Penetration
- A pipe, cable, fitting or service opening through the covered surface. It requires its own edge, clearance, support and water-path decision.
- Sealing boundary
- The line at which a project intends to control liquid, vapour or odour. A covered grating alone does not create that boundary.
Path comparison
Where Water Can Still Move Around Covered Grating
Trace the panel field, joints, edges, penetrations and outlets separately.
Swipe horizontally to view all columns.
| Path or detail | Open grating | Covered grating | What must still be designed |
|---|---|---|---|
| Panel field | Water passes through the mesh | Closed by the cover | Surface fall and any residual ponding |
| Panel-to-panel gap | Open through the joint | Remains a possible path unless separately closed | Joint width, alignment, bearing, restraint and drainage |
| Perimeter | Can pass at the frame edge | Remains a gap or joint detail | Perimeter fall, clearance, trim, bearing and seal responsibility |
| Cut-outs and penetrations | Require framing and edge control | Need their own edge and drainage detail | Position, support, trim, seal and service access |
| Lifting holes and handles | Usually not used | Can create a direct water path | Recess, plug, drainage or accepted bypass |
| Odour or vapour | Passes through the open grid | May be reduced but not automatically controlled | Separate enclosure, gasket, cover and ventilation design |
Design check
When a Covered Grating Drainage Detail Is Ready to Quote
The drawing must show both the product and the route that water takes.
Specify this if…
- The design can show the fall, low point and receiving outlet.
- The frame bearing and panel-to-panel joint detail are visible.
- The intended water path at edges, cut-outs and lifting holes is stated.
- The project distinguishes a covered panel from a sealed enclosure.
- The maintenance lift frequency and removable-piece strategy are known.
- The required acceptance method for leakage, ponding or flow is defined.
Look elsewhere if…
- A cover is expected to make every joint watertight without a sealing design.
- The only drawing is a top-view rectangle with no frame or slope.
- Nobody can state what must pass through the joint and what must be blocked.
- A gasket or sealant is assumed without naming its material, compression and maintenance.
- The cover cannot be lifted without losing an intended seal.
- Water is expected to flow uphill or disappear inside the assembly.
Start With the Destination of the Water
A covered panel closes the openings that once carried water through the panel field. It does not decide what happens next. Water still lands on the surface. It still needs a slope, a low point and a receiving drain, channel, scupper or collection area.
Begin with this sentence:
“Water arrives here from __________, reaches the outlet at __________, and must not enter __________.”
If any blank is unknown, the drainage detail is incomplete. A product quotation cannot fill those blanks after delivery.

List Every Path, Not Only the Panel Surface
A covered installation can contain at least six water paths:
- across the top surface to a fall;
- through a panel-to-panel gap;
- around the perimeter into the frame or below;
- through a cut-out or service penetration;
- through a lifting hole, handle or removable-piece clearance;
- through any missing interface at an edge or opening.
The panel field is only the first path. A continuous top photograph does not show how the other five are controlled.
Understand What a Panel Joint Contains
The word joint may mean several different interfaces:
- the gap between two cover plates;
- the connection between each cover and its grating base;
- the gap between the two grating bases;
- the edge support where a panel meets its frame;
- the transition between a removable panel and a fixed curb;
- the interface around a pipe or service opening.
When any one of these is drawn, the others must also be visible. A cover-to-cover line may look small from above while the base joint and frame bearing remain open underneath.
Dry butt joint
A dry joint may leave a designed gap and rely on the surrounding drainage path. It has to control the step, wheel passage and edge condition as well as water. A gap that is acceptable in a fixed process area may be unacceptable on a public walking route.
Clipped or restrained joint
Where the panel edge is held, the clip is not a water seal. It can control movement or reduce a step and it may need a specific bar or cover thickness. The drainage requirement and the restraint requirement should be written separately.
Sealed or enclosed joint
A gasket, sealant or overlapping detail can be part of a project-specific sealing system. Its material, preparation, compression, movement capacity, replacement interval and effect on removal must be agreed. A tube of sealant applied without those details is not a controlled sealing boundary.
Covered Grating Is Not Automatically Watertight
This distinction matters for buyers, inspectors and maintenance teams:
| Requirement | What a covered panel can do | What still needs a separate design |
|---|---|---|
| Stop small objects in the panel field | Close the direct mesh path | Joints, openings, edges and lifting details |
| Reduce splash or spray below | Create a continuous top | Drainage flow, ponding and perimeter control |
| Drain a platform | Move water across the top | Falls, outlets and receiving channels |
| Prevent every liquid leak | No, not by itself | A designed sealing boundary and evidence |
| Contain odour or vapour | Can reduce direct open area | Gaskets, enclosures, ventilation and pressure control |
| Provide a removable access cover | Can lift as a piece | Releasable seals, handling and repeatable seating |
A cover may reduce the amount of direct through-flow without meeting a project’s leakage criterion. State the criterion explicitly.
Design the Top Surface as a Drainage Surface
A flat cover cannot depend on a mesh opening to remove water. The visible slope should lead water away from:
- doors and openings;
- high-footfall standing points;
- electrical or process equipment;
- adjacent lower floors;
- the walking route itself.
The receiving outlet must accept the flow without backing up. A narrow slot, hidden perimeter gap or blocked edge channel can cause water to spread across the whole panel.
Do not infer flow performance from open area
An open area percentage describes geometry. It does not directly calculate hydraulic capacity for a covered panel, joint or drainage assembly. The outlet, debris, fall, channel and complete frame affect the result. Where the project requires a flow rate, agree the test method and configuration.
Prevent hidden ponding
Water can sit in a cover recess, between a raised edge and a frame, or beneath a length of trim. A top surface that appears dry may have trapped water at the underside or edge. The design should allow inspection and maintenance at those low points.
Allow for Movement Without Losing the Drainage Path
Panel joints perform more than one job. They may provide drainage, accommodate tolerances or allow thermal movement. Closing every gap without considering movement can over-constrain the assembly; leaving every gap open without considering debris can create a blockage.
Record:
- minimum and maximum service temperature;
- installation temperature;
- whether wash-down or process heat changes the surface temperature;
- cover, base, frame and fixing materials;
- whether the joint is fixed, sliding or removable;
- expected movement at perimeter and panel-to-panel joints.
The supplier and the responsible designer need to agree which movement the grating product accommodates and which movement belongs to the frame, structural connection or building joint. There is no universal gap that can be prescribed from the panel size alone.
A sealed joint needs a seal that can follow the actual movement. An expansion allowance can become a drainage and debris opening. The design has to state which function governs at each joint.
Treat the Frame and Perimeter Separately
The frame is often where bearing, drainage and sealing meet.
Check bearing first
The panel must have a stable bearing surface. A perimeter gap added for drainage cannot remove the bearing width required by the structure. A clip is not a bearing support.
Show the intended gap
If water is meant to pass between panel and frame, show the gap direction, minimum and maximum width, and the receiving channel. If the gap is intended to be closed, show the seal and how it survives movement and removal.
Decide who owns the seal
The grating supplier may supply a cover, an edge and a fixing detail while another party supplies the frame, gasket and site installation. The quotation should make that division visible. “Allow site to seal” is not a sealing design.
Control Openings and Lifting Details

Every opening needs a purpose. Record:
- pipe, cable or service size;
- required clearance;
- support around the opening;
- edge treatment;
- removable or fixed infill;
- water and vapour path;
- inspection access.
The same rule applies to lifting holes. A recessed hole may look neat but remain open to water. A closed plug may create a maintenance or pressure problem if it is not designed for the service. State whether the water path is accepted, drained or sealed.
Match the Joint to Cleaning and Debris
Water is not always clean. Wash-down flow may carry oil, food waste, leaves, fibres or grit. A narrow joint can pass water while retaining debris and forming a blockage.
The design should state:
- what may collect in the joint;
- how it is removed;
- whether the cover lifts;
- the cleaning agent and temperature;
- whether a tool, brush or jet must enter the gap.
A gasket that looks continuous can still trap a film of liquid at its edge. A dry joint that drains well can still pond because the receiving channel is blocked.
Preserve Maintenance Access
A drainage design that cannot be inspected is not complete. Provide access to:
- the outlet;
- the collecting channel;
- removable panels;
- lifting recesses;
- pipe or service openings;
- any gasket or seal that needs replacement.
If a cover requires two people or lifting equipment, the covered grating thickness guide and mass and removal checks belong in the same review.
Set inspection triggers
A fixed inspection interval is useful, but service events should also trigger a check. Record at least:
- after commissioning or a changed drainage layout;
- after a spill, overflow or complaint about standing water;
- after seasonal leaves, grit, ice or process debris;
- after panels, seals or frames are removed and re-seated;
- after a cleaning chemical or method changes;
- after visible joint movement, panel rocking or edge damage.
The record should identify the outlet, clear opening, visible debris, ponding location, seal condition and action taken. A drain that is clearing normally still needs access for future maintenance.
Use a Dimensioned Joint and Drainage Plan
The most useful drawing is usually a plan plus at least one section.
Plan
Show:
- every panel mark;
- panel-to-panel joint;
- perimeter gap;
- fall direction;
- outlet or low point;
- cut-outs and penetrations;
- removable panels;
- frame bearing edges.
Section
Show:
- base underside;
- cover and interface;
- frame or curb;
- bearing width;
- gap depth;
- gasket or seal, if any;
- trim or edge treatment;
- receiving channel.
Photographs
For replacement, include top, underside and frame photos. Mark the direction and location of each. A close-up of the current ponding or leakage point is particularly useful.
How the Factory Reviews a Covered Drainage Assembly
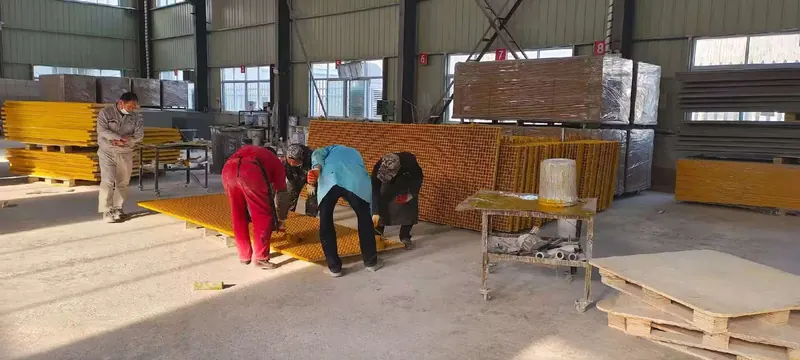
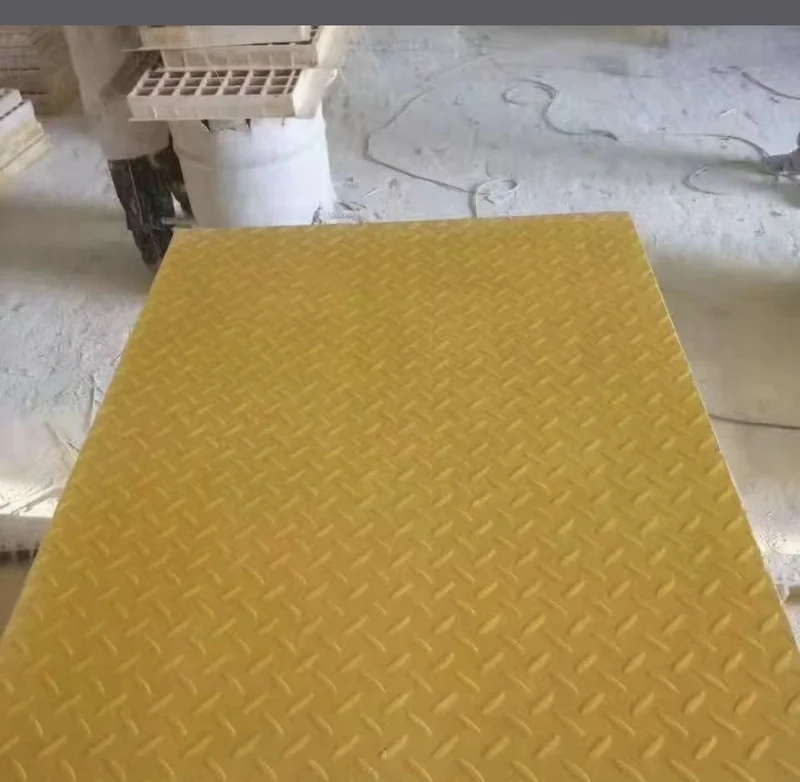
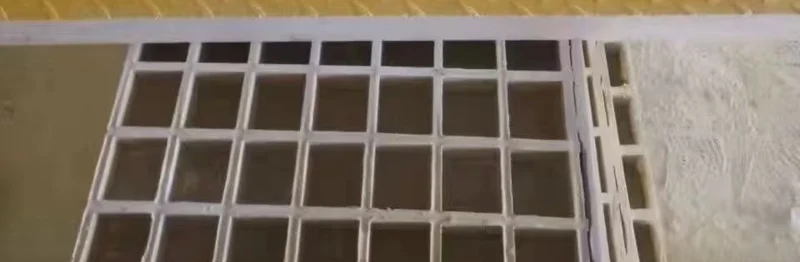
The factory can review a covered assembly made with patterned or gritted flat formats over a moulded, mini-mesh or pultruded base. We can review finished sizes, cut-outs, edges and fixings from the drawing.
The review does not treat a sealed enclosure as the default. Unless the project explicitly specifies a gasket, sealed joint or drainage accessory and its responsibility, the quotation should state what remains dry, open or supplied by others.
This is important because a cover that drains acceptably in one frame can leak into another. The product is not being tested against a drawing that was never shared.
What to Inspect Before Approval
Use the agreed method. A useful inspection record covers:
| Item | Record |
|---|---|
| Finished pieces | Mark, size and quantity against the drawing |
| Joint widths | Actual gap at agreed points |
| Frame bearing | Contact and clearance around the perimeter |
| Outlets | Position, clear opening and debris condition |
| Openings | Size, edge treatment and removable infill |
| Seal | Product, location, continuity and compression where specified |
| Ponding | Location and depth under the agreed check |
| Access | Lifting method and whether the panel re-seats repeatably |
Do not use a generic flood test that was not agreed with the responsible parties. It may cause unsafe loading, spread contaminants, bypass the drainage body or fail to represent normal service.
Final Boundary Statement
The safe conclusion is:
- A covered grating closes the panel field.
- A drainage design directs water to an outlet.
- A sealing design controls a stated boundary.
- A structural design supports the panel and loads.
The same installation may need all four. Naming one does not replace the others.
Drawing inputs
What to Send for a Joint and Drainage Review
Frame, fall, openings and access belong on the same plan.
- Panel layout — Show every panel, joint, cut-out, opening and bearing edge, including the direction of travel and cover pattern.
- Water source and destination — State rain, wash-down, process fluid or spill, its volume or expected intensity, the fall and the receiving drain or channel.
- Joint requirement — Identify which gaps may remain open, which are part of a seal and which need structural connection.
- Perimeter and penetrations — Show frame clearances, curb or wall details, pipe openings, trim, supports and any gasket or seal.
- Access — State whether pieces are fixed or removable, the lift frequency and what must remain connected when opened.
- Environment — Include chemical, temperature, UV, odour, hygiene and cleaning conditions that affect materials and joints.
- Acceptance — Name the project method for flow, ponding, leakage or seal inspection; do not assume an improvised site flood test.
- Responsibility — Identify who supplies the frame, gasket, sealant, drainage body and installation work.
Send the frame detail
Show Us Where the Water Must Go
A marked plan is more useful than a panel-only price request.
- Molded and pultruded grating produced in house
- Full panels or factory cut-to-size pieces
- No fixed minimum order quantity
Covered Grating Joints and Drainage Questions
Does covered grating stop all water?
Should the panel joints be sealed?
What is the difference between drainage and sealing?
How can I check whether a joint drains?
Do lifting holes create leaks?
Can the cover be removed if the joints are sealed?
Do covered grating joints need an allowance for expansion?
How often should covered grating drains be inspected?
This content was prepared and reviewed by Dengtai Industry’s technical and production team using the project conditions, available product data and applicable documents. Limits that require design, testing or approval are identified in the content. Content last checked: